

In the world of desserts, donuts are among the most beloved treats globally. Known for their irresistible flavor and fluffy texture, donuts also offer endless room for creative decoration. But the secret to perfecting this iconic treat starts with mastering a professional donut dough recipe—just like the ones used by top pastry shops.
In this article, we’ll explore the essential ingredients, step-by-step preparation method, and pro tips from pastry experts to help you achieve bakery-level results at home.
Why Are Donuts So Popular?
According to a report by IBISWorld, the U.S. donut industry alone generates over $16 billion annually, showcasing just how universally loved this dessert is. Brands like Dunkin’ Donuts and Krispy Kreme lead the market with consistently high-quality donuts made from meticulously crafted doughs.
Key Ingredients for a Professional Donut Dough
To get that perfect texture and rich flavor, here are the essential ingredients used by pastry chefs:
- Bread flour: Higher protein content ensures elasticity and softness.
- Instant yeast: Helps the dough rise beautifully—choose a high-quality brand.
- Eggs: Add richness and softness.
- Butter: Enhances flavor and gives a smooth texture.
- Whole milk: Warmed to activate yeast and soften the dough.
- Sugar: Adds sweetness and supports fermentation.
- Salt: Balances the flavors and boosts overall taste.
Step-by-Step: How to Make Professional Donut Dough
1. Activate the yeast
Warm ½ cup of milk (not boiling), add 1 tablespoon of sugar and 1 tablespoon of instant yeast. Let it sit for 10 minutes until foamy—this means the yeast is active.
2. Mix the dry ingredients
In a large bowl, combine 3 cups of bread flour and a pinch of salt. For extra fluffiness, sift the flour first.
3. Combine wet ingredients
In another bowl, beat 2 eggs with ½ cup of sugar. Add in the foamy yeast-milk mixture and ¼ cup of melted (but not hot) butter. Gradually mix this into the dry ingredients.
4. Knead the dough
Knead by hand for 10 minutes or use a stand mixer for 6–8 minutes. The dough should be smooth, elastic, and not sticky.
5. First proof
Place the dough in a lightly oiled bowl, cover with a damp cloth, and let rise in a warm place for 90 minutes, or until doubled in size.
6. Shape the donuts
Roll out the dough to about 1 cm thickness, then use a round cutter to shape the donuts. Use a small bottle cap or cutter to create the center hole.
7. Second proof
Place shaped donuts on parchment paper and let rise again for 30 minutes. This step ensures ultra-light and airy donuts after frying.
8. Fry
Heat oil to 170–180°C (340–355°F). Fry each donut for 1–2 minutes per side until golden brown.
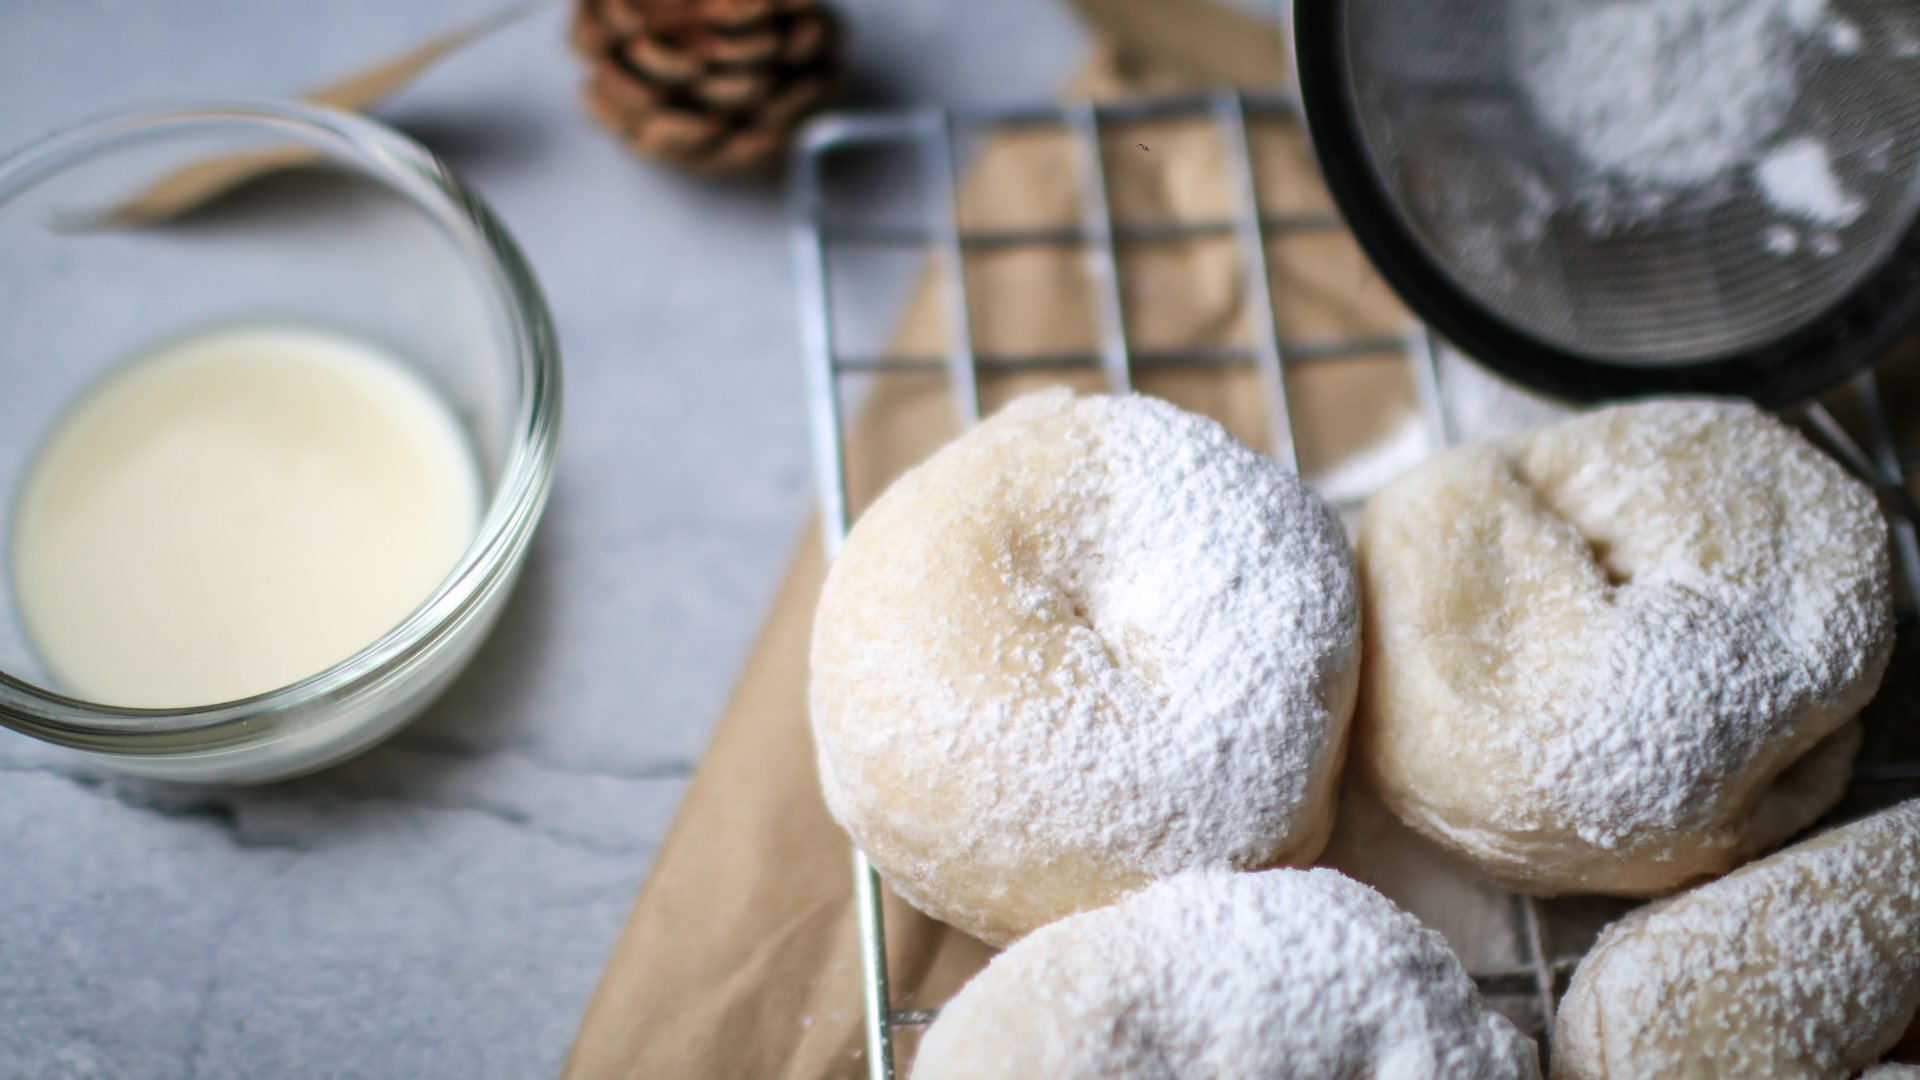
9. Decorate
Dust with powdered sugar, dip in melted chocolate, glaze with icing, or fill with jam, custard, or cream—get creative!
Secrets to Making Professional Donut Dough
• Use high-quality flour: Choosing high-protein flour (such as bread flour) helps achieve a stretchy yet fluffy texture.
• Add a teaspoon of white vinegar or lemon juice: This small addition enhances yeast activity and improves the dough’s tenderness.
• Do not open the dough during proofing: It's very important not to disturb the dough during proofing to preserve the air bubbles inside.
• Cover the dough well: Use a damp cloth or plastic wrap to cover the dough during proofing to prevent it from drying out.
• Use a thermometer when frying: Maintain the oil temperature precisely between 170°C and 180°C to ensure even cooking without burning.
• Precise cutting: Use a sharp, floured cutter to prevent the dough from sticking, preserving the donut’s even shape.
• Let the donuts rest after cutting: After shaping the donuts, allow them to rest for an additional 10–15 minutes before frying to improve their rise.
• Decorate while warm: Sprinkle sugar or dip in chocolate while the donuts are still slightly warm to ensure better adhesion.
• Try a small batch first: Especially when testing a new type of flour or yeast, try a small quantity first to ensure good results before making a large batch.
• Avoid dry dough: If the dough feels dry, gradually add a little milk until it becomes smooth and elastic without being too sticky.
Another suggested topic: How to Make Delicious Date Pudding — An Easy Recipe with Healthy Ingredients and Authentic Arabic Flavor
Frequently Asked Questions (FAQs)
- Can plant-based milk be used instead of dairy milk?
Yes, but it may slightly affect the tenderness and flavor. Coconut milk or almond milk are acceptable alternatives.
2. What is the difference between fried and baked donut dough?
Fried dough is usually fluffier and richer in flavor, while baked donuts are healthier but have a texture closer to bread.
3. Can the dough be prepared and frozen?
Yes, you can freeze the dough after shaping and before frying. When needed, take it out and let it rise for an hour before frying.
4. Why do donuts become hard after cooling?
This could be due to over-frying or not covering them properly after cooling. Store them in an airtight container to keep them soft.
5. What is the best type of oil for frying?
Canola oil or sunflower oil are ideal for frying because they do not affect the taste and can withstand high heat.

Conclusion
Preparing professional doughnuts isn’t just about the ingredients — it also relies on following precise steps, being patient during proofing, and perfectly controlling frying temperature. Once you master these key elements, you'll be able to make homemade doughnuts that easily rival those from top pastry shops in terms of taste, texture, and appearance.
Remember, doughnuts are not just a dessert — they’re an artistic experience that blends skill with creative flair. With each attempt, you’ll become more professional in adjusting the texture, choosing flavors, and experimenting with different toppings like chocolate, powdered sugar, or creamy fillings.
Start now, and don’t be afraid to experiment — the world of doughnuts is full of joy and creativity in every bite!
#ProfessionalDoughnutDough#DoughnutRecipe#HomemadeDoughnuts#EasyDesserts #KitchenRecipes#SoftDoughnuts #ShopStyleDoughnuts #TriedAndTrueRecipes #HomemadeTreats #PastrySecrets