

Nut-Filled Kunafa: A Delicious Middle Eastern Dessert
Nut-filled kunafa is one of the most famous Middle Eastern desserts, loved for its crispy texture and rich flavor. It is especially popular during gatherings and celebrations, combining the sweetness of the filling with the crunchiness of the outer layer. This dessert can be easily prepared at home using simple ingredients, making it an ideal choice for lovers of traditional sweets. Below, we present a step-by-step guide to preparing nut-filled kunafa with the perfect taste and texture.
Essential Ingredients for Nut-Filled Kunafa
To achieve a flavorful and perfectly textured kunafa, you will need the following ingredients:
- ½ kg of fresh or frozen kunafa – Fresh kunafa is preferred for the best results.
- ½ cup melted ghee – Helps achieve a crispy texture and golden color.
- 1 cup crushed nuts – A mix of hazelnuts, almonds, and walnuts enhances flavor and texture.
- 1 cup powdered sugar – Sweetens the filling without altering its consistency.
- ½ cup shredded coconut with raisins – Adds a traditional Middle Eastern touch.
- 2 cups cold sugar syrup – Poured over after baking for a balanced sweetness.
- ¼ cup ground pistachios – Used for garnish to add a luxurious touch before serving.
Steps to Prepare Nut-Filled Kunafa
1. Preparing the Kunafa
- If using frozen kunafa, let it thaw at room temperature until soft and easy to handle.
- Break the kunafa into small, even pieces using your fingers or a food processor.
- Add ½ cup of melted ghee, ensuring it is evenly distributed for a crispy texture.

2. Preparing the Filling
- In a medium-sized bowl, mix the crushed nuts with powdered sugar to ensure even sweetness distribution.
- Add shredded coconut and raisins, then stir until all ingredients are well combined.
- Ensure the filling is relatively dry to maintain the kunafa’s structure and prevent it from becoming soggy after baking.
 3. Preparing the Baking Tray
Grease the bottom and sides of the baking tray with ghee to prevent the kunafa from sticking after baking.
Spread half of the kunafa mixture in the tray and gently press it down using your hand or a flat spatula.
Evenly distribute the filling over the first layer, then add the remaining kunafa and press it down lightly to ensure it holds together.
4. Baking the Kunafa for a Golden Color
Preheat the oven to 180°C.
Place the tray in the oven and bake for 30–35 minutes until it turns golden and crispy.
After baking, remove the tray and flip the kunafa onto another greased tray, then return it to the oven for a few more minutes to brown the other side.
5. Adding Syrup and Garnishing
Once out of the oven, gradually pour the cold syrup over the kunafa until it is fully absorbed.
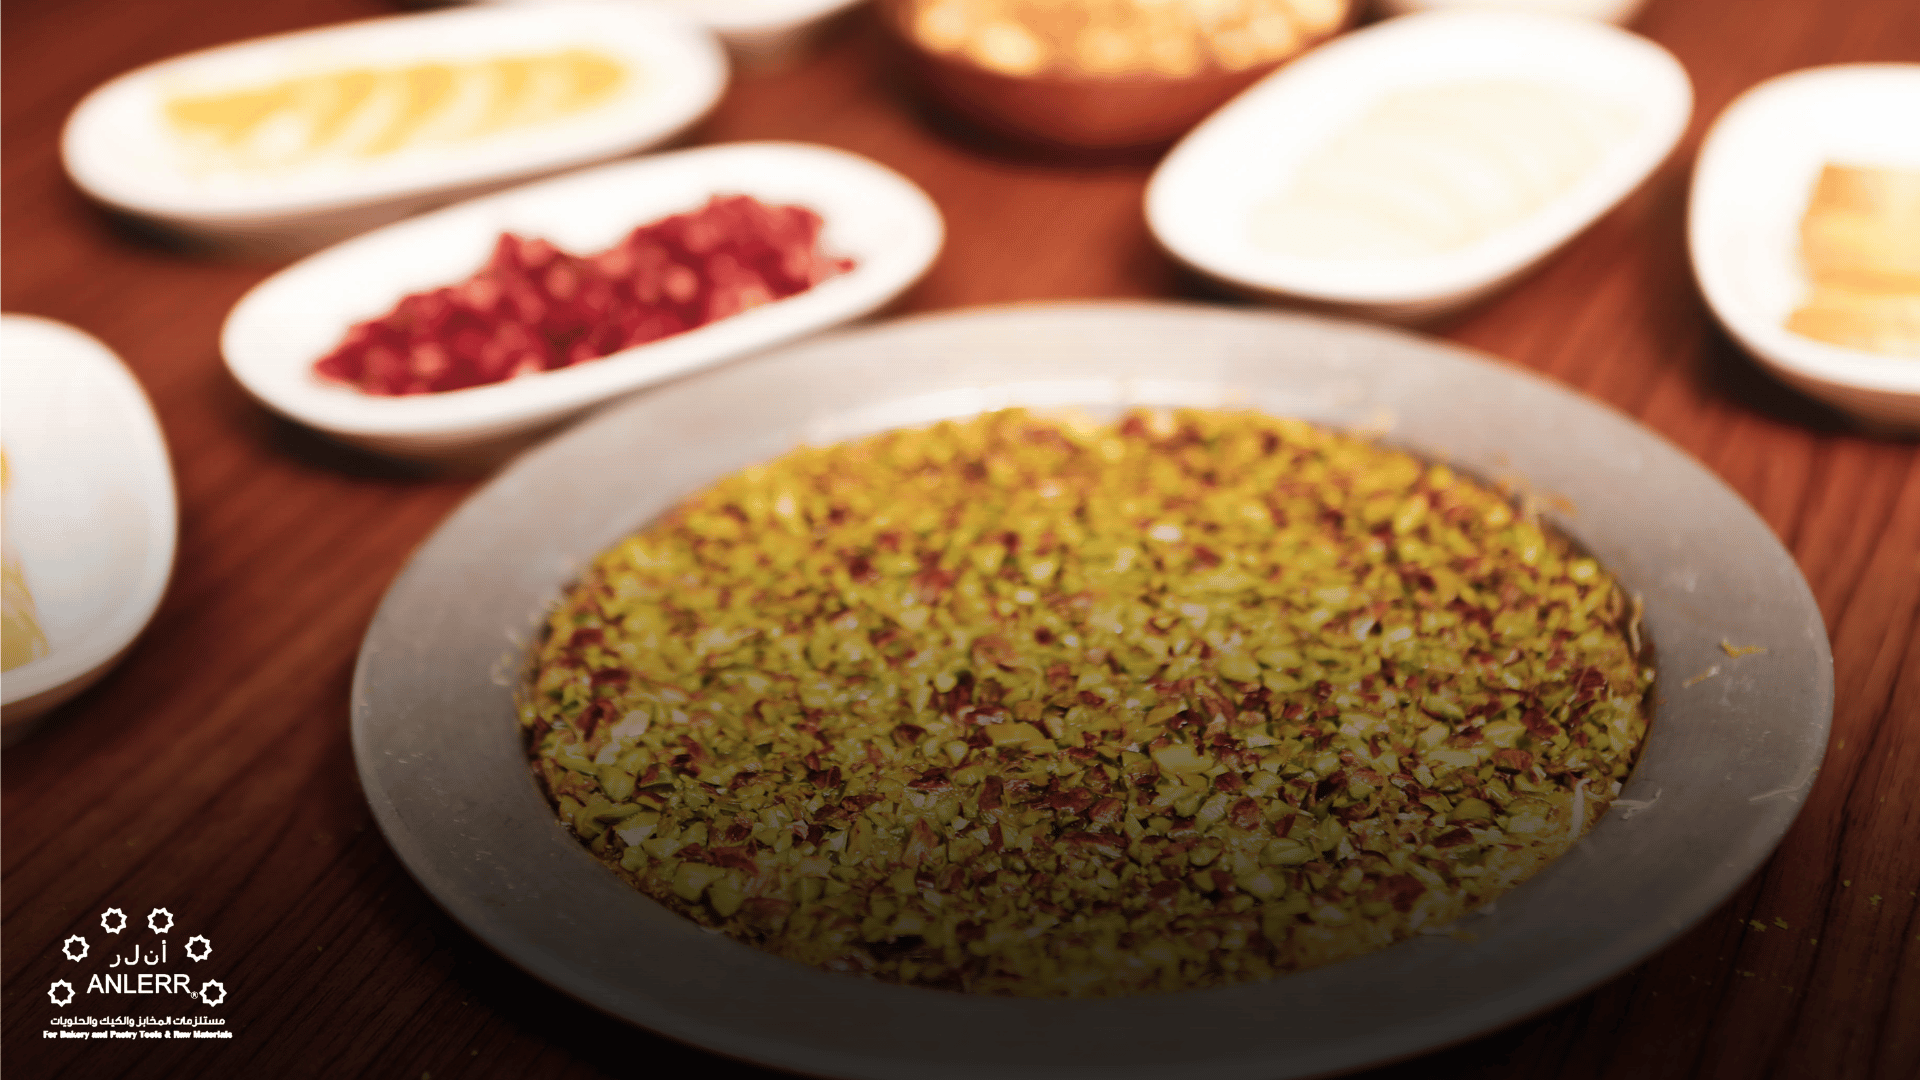
Garnish with crushed pistachios for a rich flavor and an elegant touch.
Let it cool slightly before serving to ensure it holds together and is easy to cut.
Suggested Topic: The Easiest Way to Make a Delicious Cake at Home
Tips for the Best Nut-Filled Kunafa
- For a crispy texture: Ensure the melted ghee is evenly distributed over the kunafa to avoid dry or overly greasy spots.
- For perfect browning: Flip the tray halfway through baking or transfer the kunafa to another greased tray to get an even golden color on both sides.
- To adjust sweetness: Reduce the amount of sugar in the filling or syrup according to your taste preference.
- To enhance the nutty flavor: Use a mix of hazelnuts, almonds, and walnuts, as each adds a unique taste, creating a richer kunafa flavor.
- To maintain crispiness after soaking: Pour the cold syrup immediately after taking the kunafa out of the oven, but do it gradually to ensure absorption without losing crunchiness.
Frequently Asked Questions (FAQs) About Making Kunafa with Nuts
1. Can I use butter instead of ghee for making kunafa?
Yes, you can substitute butter for ghee, but it’s best to use unsalted butter to avoid altering the kunafa’s taste. However, ghee is the preferred option as it provides the perfect crispiness and even golden color. If using butter, mix 70% butter with 30% vegetable oil to maintain the right texture.
2. Can kunafa be made without nuts?
Absolutely! You can make kunafa without nuts and use alternative fillings like cream, custard, or even chocolate. Coconut or mashed dates can also be great additions for a new flavor. The key is to use a filling with a firm texture so the kunafa layers hold together after baking.
3. How can I keep kunafa crispy after preparation?
To maintain kunafa’s crispiness for as long as possible:
- Store it in an airtight container to prevent moisture absorption from the air.
- Avoid placing it in the fridge immediately, as this can make it soft.
- If refrigeration is necessary, reheat it in the oven at a low temperature for 5–10 minutes before serving to restore its crispiness.
4. Can I replace the sugar syrup with honey?
Yes, natural honey can be used instead of syrup, but it may slightly alter the flavor due to its high density. If using honey, dilute it with a little warm water for easier distribution over the kunafa. Adding a few drops of lemon juice can help balance the sweetness and prevent crystallization. However, honey tends to make kunafa stickier and less firm compared to traditional syrup.
Conclusion
Making nut-filled kunafa at home is not just a recipe—it’s an enjoyable experience that allows you to indulge in a rich and crispy Middle Eastern dessert. By following these simple steps, you can create a kunafa that rivals those found in top dessert shops, making it a perfect treat for family gatherings and special occasions.
If you’re looking for high-quality ingredients to ensure the best results, visit Anlerr Store, where you’ll find a variety of nuts, ghee, and dessert essentials to help you prepare the most delicious homemade sweets.
At Anlerr, we offer a dedicated section for nuts to meet all your kunafa-making needs!